Preparing Your Spray Equipment for Busy Season
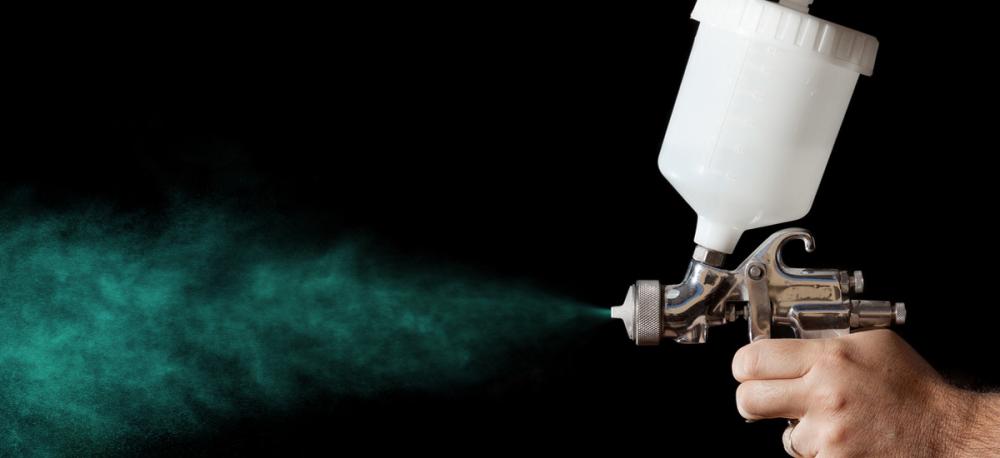
When peak season approaches, you need to know you can rely on your spray equipment to complete jobs efficiently. Maximizing your equipment uptime means you complete your jobs on schedule while conserving materials. This guide to preparing your spray equipment for busy season covers pre-season prep, a comprehensive inspection and cleaning checklist, and key parts to keep in stock.
Why Busy Season Equipment Prep Matters
Keeping your paint spraying equipment prepared for busy season is important for many reasons, including:
- Ensuring finish quality: When you clean and calibrate equipment properly, you can ensure the best finish and avoid redoing jobs due to a partially clogged nozzle.
- Optimizing transfer efficiency: A prepped paint sprayer will be more efficient in covering your surfaces, with less paint wasted as overspray.
- Reducing material waste: Keeping your sprayer clean and maintained minimizes paint waste. This prevents you from having to put down the sprayer and spend time correcting the mistake.
- Maximizing uptime: Checking that your equipment is ready for busy season allows you to replace any worn parts ahead of time. This preventive repair saves you from having to pause a job to fix your sprayer.
- Maintaining customer satisfaction: When you properly prepare your spraying equipment, you can achieve consistent, high-quality finishes while staying on schedule. This creates positive customer experiences that could turn into future work.
Pre-Season Spray Equipment Cleaning
The first step in preparing your equipment is to clean it. Having a clean paint sprayer makes inspection much easier. Ideally, paint spraying equipment should be cleaned and stored with a storage fluid if not in use for the winter.
Tank
If using a sprayer with a tank or reservoir, first drain any old material from the tank into a waste container or the original paint pot. Remove any thicker residues from the sides of the tank. Then, use an appropriate solvent to dissolve any remaining paint by swirling it around the tank. The type you use will depend on your paint type, whether it's water or oil-based.
Pump and System
For airless or air-assisted sprayers without a tank or reservoir, you'll need to discharge any remaining paint or storage fluid into a container. Put the return pipe back into the original container. Turn on the machine at a low pressure. Run it until you see the paint reach a milky consistency or when most of the storage fluid has been diluted.
Now, clean the paint out of the spray hose. Remove the spray tip from the gun and set it aside for cleaning. Then, spray any paint residue back into a container and any fluids into a container using low pressure.
Next, turn the pump to full pressure while keeping the spray gun and any hoses inside a bucket. Hold the hose. Set the spray gun to spray and let it run for a few seconds to expel any surplus paint or fluids. Then, let the system repressurize by quickly turning the prime valve on and off a few times.
Place the paint gun into a bucket of water and spray it a few times. Your system should now be fairly clean. For further cleaning, you could run a couple more cycles of fresh water from one bucket to another. Be sure to drain the system of any water when complete and consider a storage fluid if you're not using the machine for a few days.
Nozzle and Filters
To clean the nozzle, reattach it and put it into a clean bucket of water. Spray it in spray mode before switching to clean out mode. Perform a few more shots. For more persistent clogs or blockages, use a spray tip cleaning needle. You're now ready to depressurize your machine and remove the tip.
Clean the filters in your gun handle and pump. Remove each one and clean them by rinsing them in fresh water. Remember to clean your filters daily for best performance. You should also check the intake filter on your suction pump.
Equipment Inspection Checklist
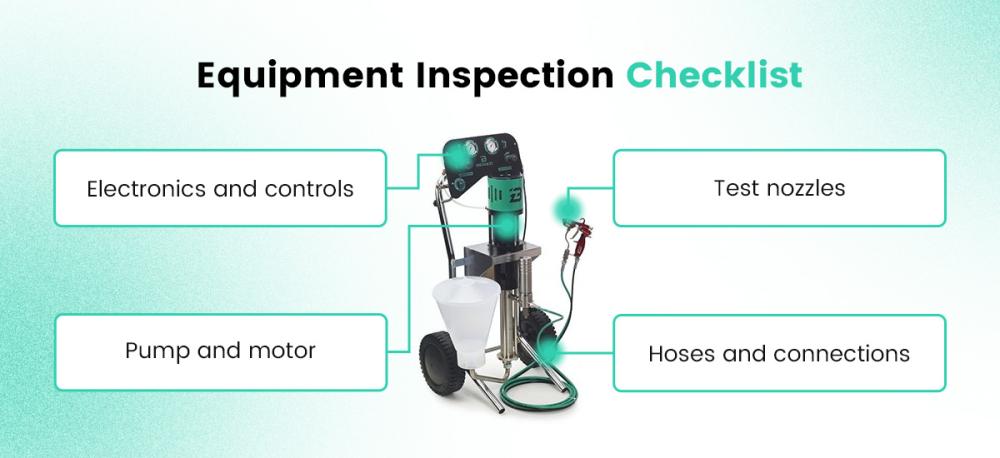
Here's a paint equipment checklist you can use to give your spraying machine a thorough inspection:
- Hoses and connections: Check your hoses for any cracks, leaks or damage. Ensure all connections are tight. For replacements, our contractor-grade spray hose packages offer the most-used 1/4" x 50' high-pressure options in one place.
- Pump and motor: Listen to the pump's motor to make sure it's running smoothly. Also, inspect power cords for visible damage. Refer to your equipment's manufacturer for any guidelines on lubricants or maintenance fluids. If the pump isn't running smoothly, contact an expert for servicing.
- Test nozzles: With your paint sprayer loaded, you can test your nozzles to ensure a clean, even spray pattern. Look for any tailing, spits or fingering in the paint patterns. You may also see hard, sharp lines at the edges. All these indicate the spray nozzle may be too worn.
- Electronics and controls: Double-check your paint sprayer controls all work as smoothly as expected, including checking any other electronics.
If you need to restock before the season, our spray accessories bundle covers swivels, cleaning needles, and filters.
Calibrating and Testing Your Spray System
With your paint sprayer cleaned and inspected, ensure it's fully calibrated for your specific job. Adjust the pump pressure to test the sprayer and find the right pressure to deliver your desired finish. There's usually a sweet spot where your paint atomizes at the correct level without too much overspray and wastage. While performing this spray gun tune-up you should remember that different paint products will behave differently. Recalibrate and test when switching media.
Parts to Replace Before Busy Season
You may need to replace some parts on your spraying equipment before the start of a busy season. This includes:
- Tips: Nozzles are critical to achieving a good finish. Test your tips before the season starts and consider retiring any worn tips. You should also prepare to replace nozzles throughout the season, so keep some in stock.
- Filters and seals: Consider replacing filters or seals on your pump or spray gun at the start of the season.
- Hose and gaskets: If your hose is leaking or has visible signs of cracking, replace it before busy season to avoid a machine breakdown during your job. OSHA recommends you remove worn-out hoses or couplings from service.
Troubleshooting Common Spray Equipment Issues
There are a few issues you may encounter when setting up your paint sprayer for the busy season, such as:
- Lack of pressure: Check for clogged filters, which can lower pressure. If you have an older pump, the packings may need servicing to replace the seals and restore pressure. Alternatively, you might have air in the system, so reprime your machine. Or your spray tip may be the wrong size for your machine.
- Inconsistent pattern: Several factors can affect the paint pattern, including clogged filters, worn-out tips, low pressures or paint that is too thick.
- Clogging and spitting: There may be dried paint on the tip, which can cause the paint to apply unevenly or create spits. Clean the tip with a solvent and a needle. Also, check your filters. Some paints have more debris than others, so consider straining your paints to help prevent clogs.
Safety Considerations for Seasonal Spray Prep
Safety is a vital aspect of your busy season equipment prep. Ensure you have adequate personal protective equipment (PPE) such as a respirator, gloves and eye protection. Use the right PPE when performing spray equipment maintenance and cleaning, too.
Take care when handling solvents by using PPE and ensuring adequate ventilation. OSHA advises that you can use flammable solvents with lower flashpoints if necessary, but only in a dedicated spray booth.
Get Ready for Busy Season With KM Coating Inc.
When you prepare your spray equipment for peak season, you maximize uptime by ensuring your equipment is refreshed and ready to use. You also gain the peace of mind that your machine is working correctly and you have the necessary spares to replace any worn parts.
At KM Coating Inc., we carry a wide range of top-quality replacement spray tips, hoses, filters and more from trusted manufacturers. You can even find custom-sized hoses to suit your needs. Stock up today so you're fully prepared for busy season!
Post comments
Leave A Reply
Your email address will not be published.